Buying USDT
Starting from no crypto at all: buy your first USDT on an exchange and move it into your Asale wallet.
The Asale wallet only holds USDT: buying tokens draws it down, selling settles into it. This page walks the most common route — buy USDT with Binance C2C, then withdraw it to your Asale deposit address. Budget about 30 minutes, most of it waiting on identity verification. If you already hold USDT somewhere, Wallet and settlement is all you need.
Operational reference, not investment advice. In mainland China, cryptocurrency trading is classified as illegal financial activity and carries both legal and financial risk. The rules where you live are yours to check; Asale warrants nothing here.
The captures come from a Chinese install of Binance, because C2C with WeChat and Alipay is what this route is for. The layout is the same in any language.
Before you start: the network
Every step has to reach binance.com. A dropped connection looks different at each one, and none of them says "network":
| Step | What a dropped connection looks like |
|---|---|
| Opening the download page | It simply does not load |
| Downloading the installer | An incomplete file — "the application is damaged" when you install it |
| Scanning the QR on a phone | The download never starts |
| First launch of the desktop client | It spins forever |
| Daily use | Needed every time |
It has its own network stack, so a browser-extension proxy does nothing — it needs a system-level one. "The website loads but the app will not connect" is almost always this. On macOS: System Settings → Network → Details → Proxies.
The phone side is just as easy to miss: when you scan a code shown on your computer, the proxy is on the computer, and a phone without its own configuration still will not download. Download on the computer and transfer the file instead. Keep the exit IP in one country rather than hopping between them.
Step 1: install the app
Open binance.com. The banner across the top is picked from your exit IP — the one below reads "Looks like you're in the United States".
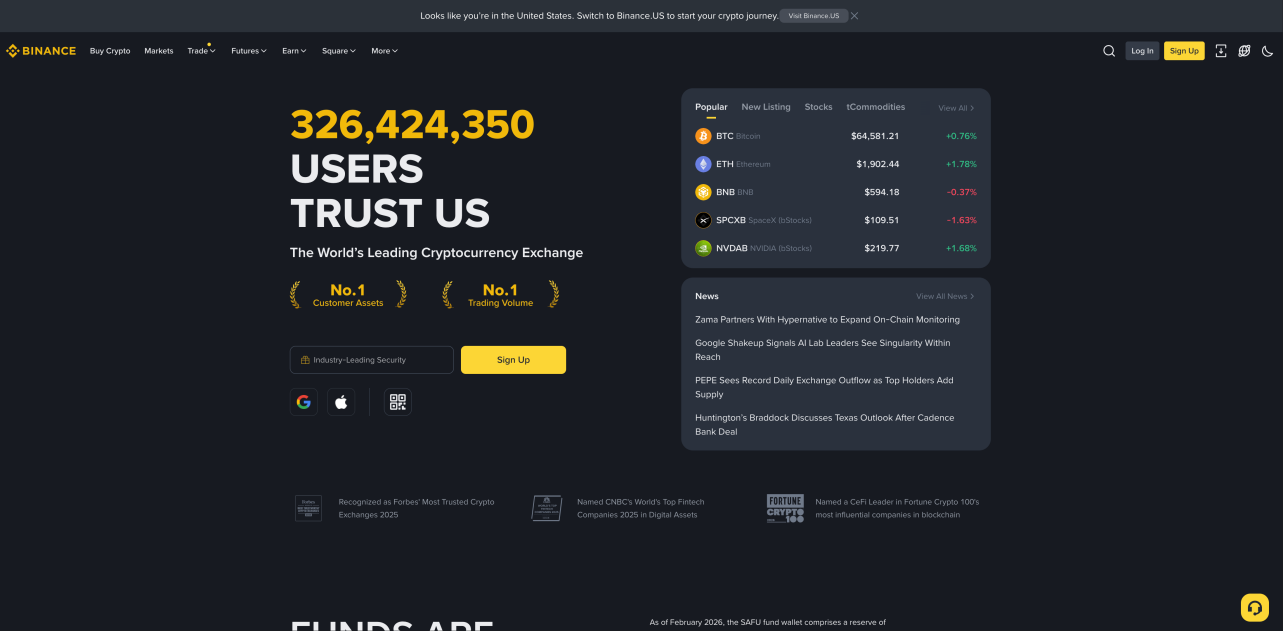
The download button (↓) beside the search icon, top right, leads to every installer. Mobile is top left of that page, desktop bottom right.
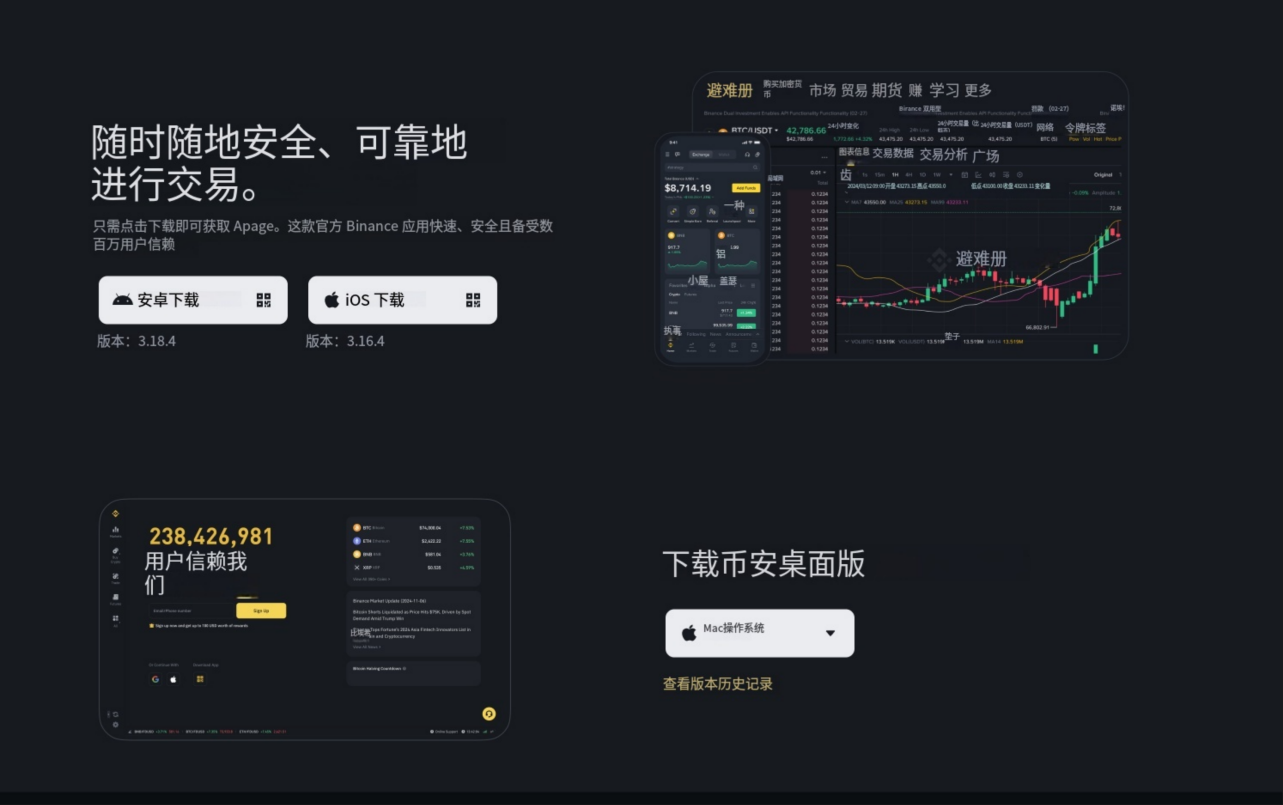
iOS usually trails Android because of Apple's review cycle — normal, not a stale page. And odd wording after switching languages is a translation-quality problem, not a way to tell a fake site from the real one. Judge that by the domain in the address bar, and nothing else.
macOS
- Check which chip you have
Apple menu → About This Mac, and read the chip line:
What About This Mac says Which build to take Chip Apple M1 / M2 / M3 / M4 Apple silicon (arm64) Processor Intel Core i5 / i7 / i9 Intel (x64) Anything bought after late 2020 is almost certainly Apple silicon. Getting it wrong fails differently in each direction: the Intel build runs on an M-series machine through Rosetta but stutters; the arm64 build will not open at all on an Intel one.
- Download the installer
Bottom right of the download page, under "Download Binance Desktop", open the Mac OS dropdown — both chip builds are in there, along with Windows and Linux.
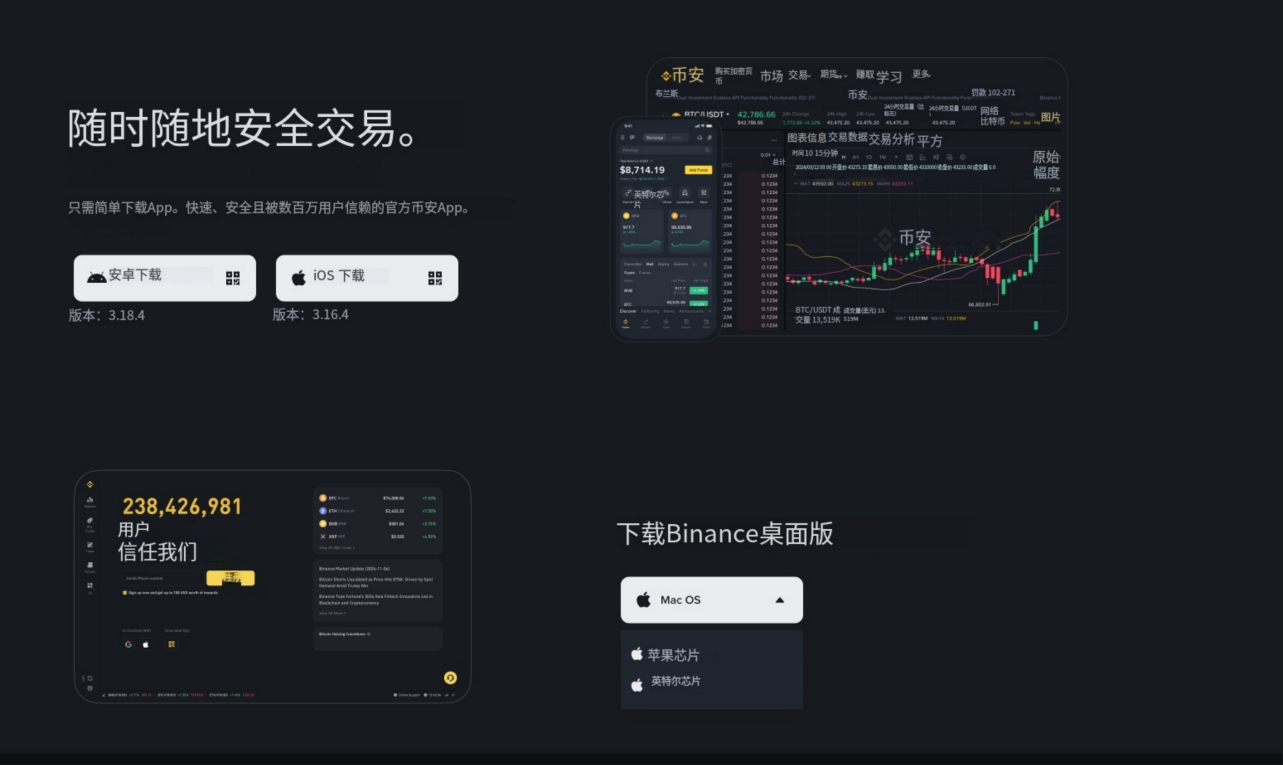 Check the domain before you download
The address bar must read
binance.comitself — notbinance-xxx.com, notbinancecn.xxx. A phishing site can look identical, and the installer it hands you can carry a trojan. - Drag it into Applications
Double-click the
.dmg.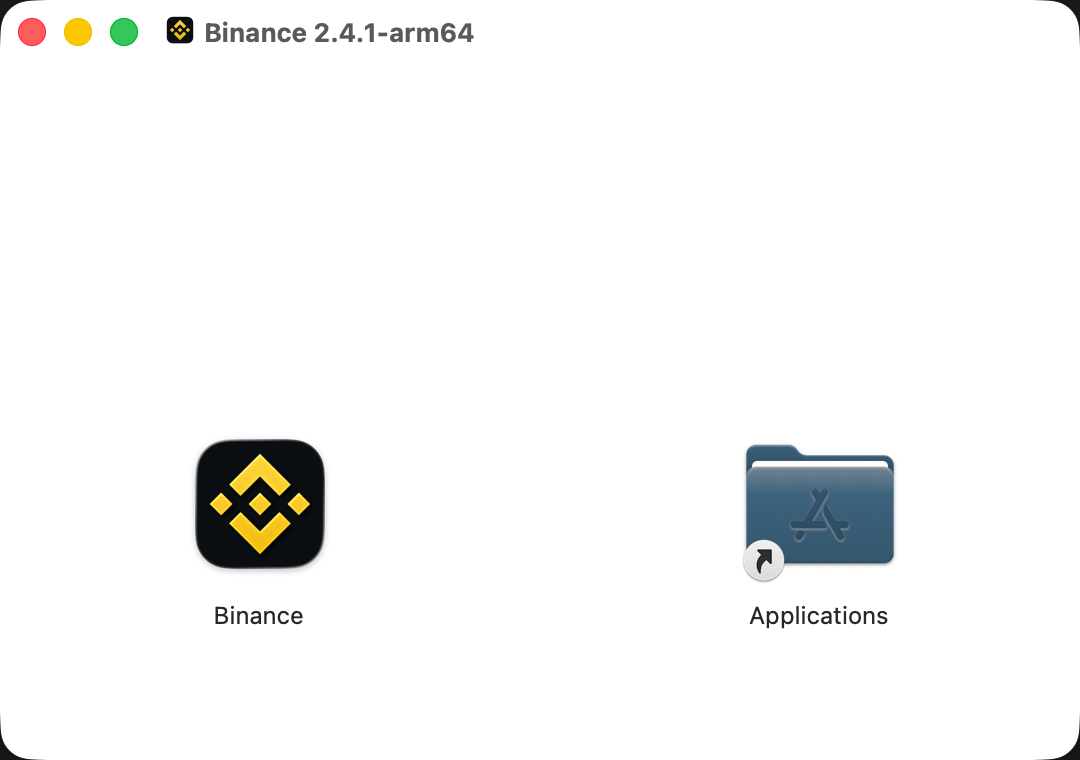
The title bar is a second check — this one says
Binance 2.4.1-arm64, the Apple-silicon build. If you are on an M-series Mac and it says x64, close it and download again.Then drag the Binance icon onto the Applications folder, wait for the copy, eject the mounted disk from the Finder sidebar, and delete the
.dmg. - Let it through on first launch
Open Binance from Launchpad. macOS will most likely say it cannot verify the developer — click Cancel, and do not click "Move to Trash".
Then System Settings → Privacy & Security, scroll to the line saying Binance was blocked, and click Open Anyway. Launch again and it starts normally.
- Spinning / network errors: the client needs a system-level proxy, not a browser extension.
- Damaged / will not open: usually the wrong architecture, or an interrupted download. Delete it, re-check the chip, download the whole file again.
Android
Two routes:
- Download on the computer, transfer it over. The Android button gives you an APK; move it to the phone by cable or over the local network.
- Scan and download directly. Hover the Android button and a QR code opens below it.
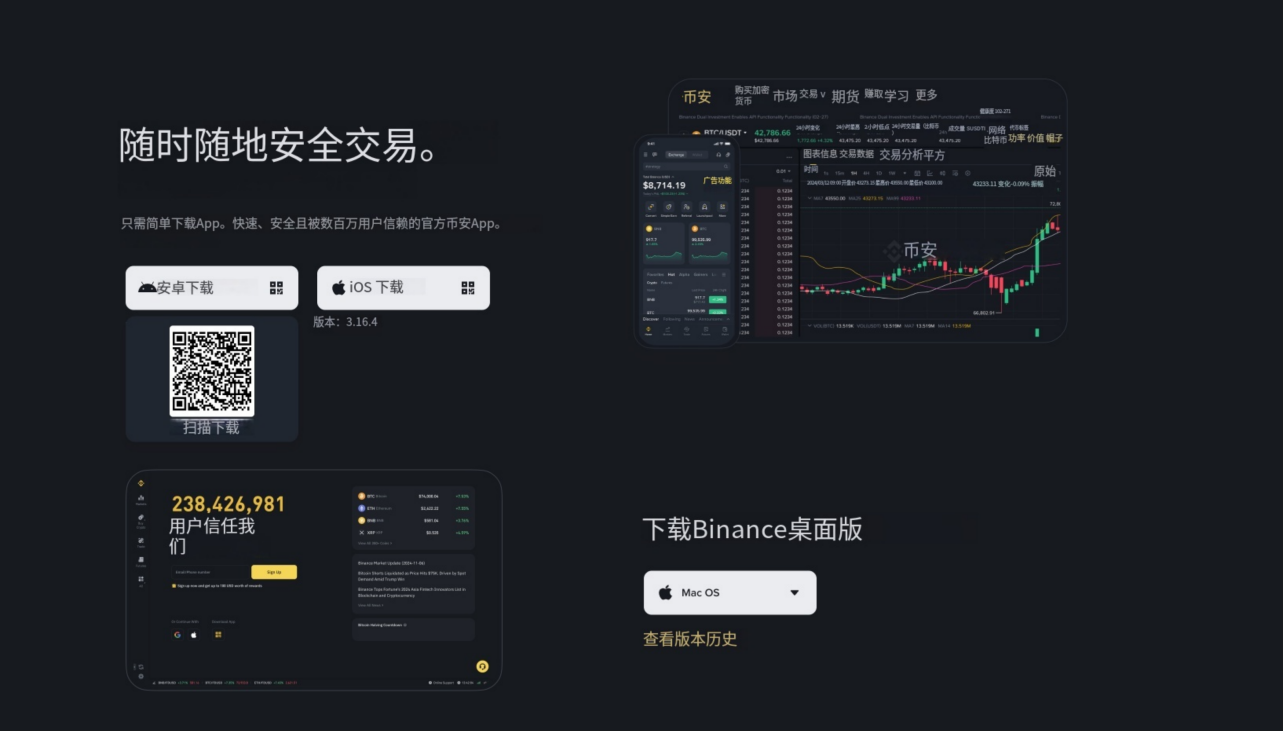
The phone still makes the download request itself. Without its own proxy it stalls there — which is when you go back to the first route.
Installing an APK trips the "unknown sources" block; grant the permission once, and turn it back off afterwards. APKs do not self-update, so compare against the site's version number now and then — the installed one is under Settings → About.
iPhone
Hovering the iOS button opens a different QR code.
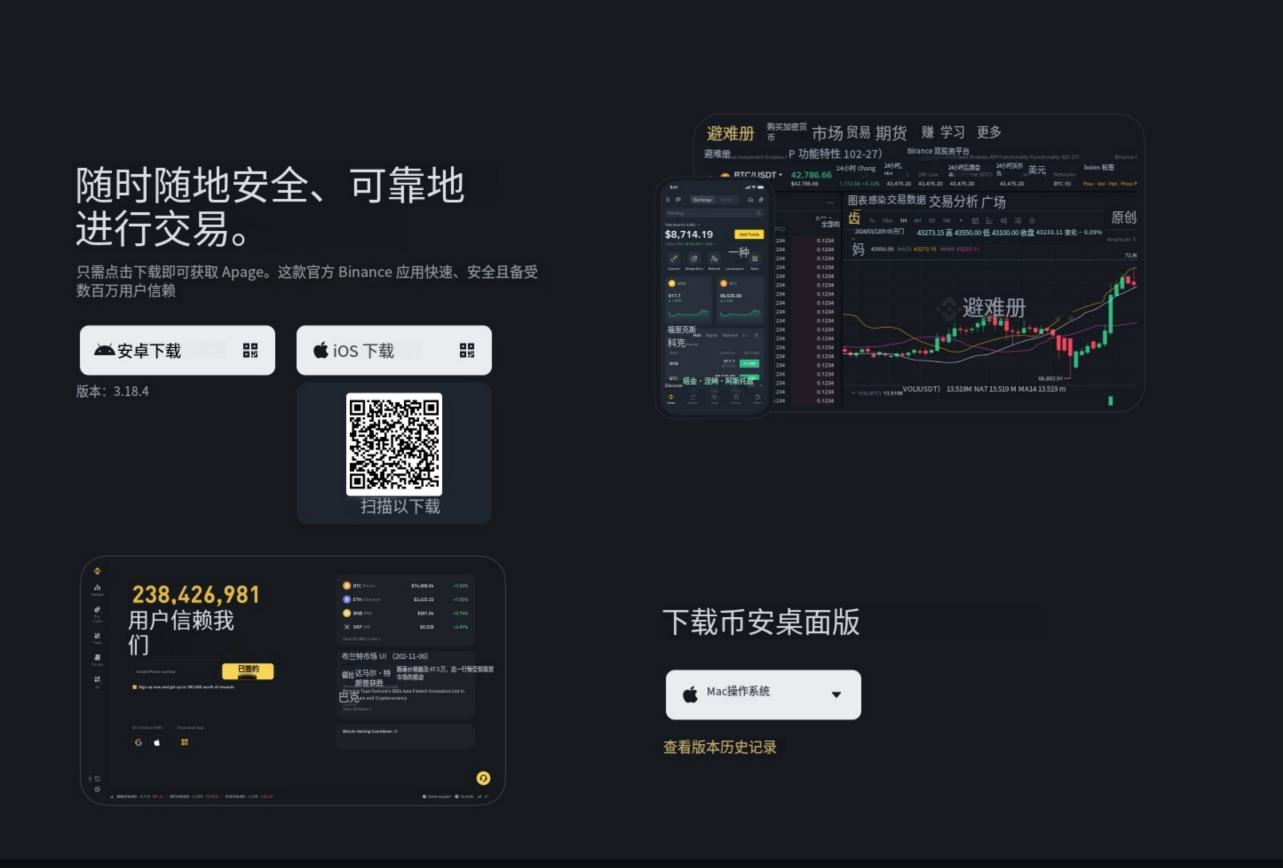
The two codes go to different places: Android to an APK, iOS to the App Store listing. Do not scan one to install on the other.
Sign out of the App Store entry at the very bottom of the iPhone's Settings, sign in with a non-China Apple ID, then follow the site's iOS link.
Switch the App Store account only — leave the Apple ID / iCloud login at the top alone, or you will affect iCloud backup and photo sync.
On Android, if Google Play works where you are, you can also search the store for "Binance" — the developer must read Binance Inc.
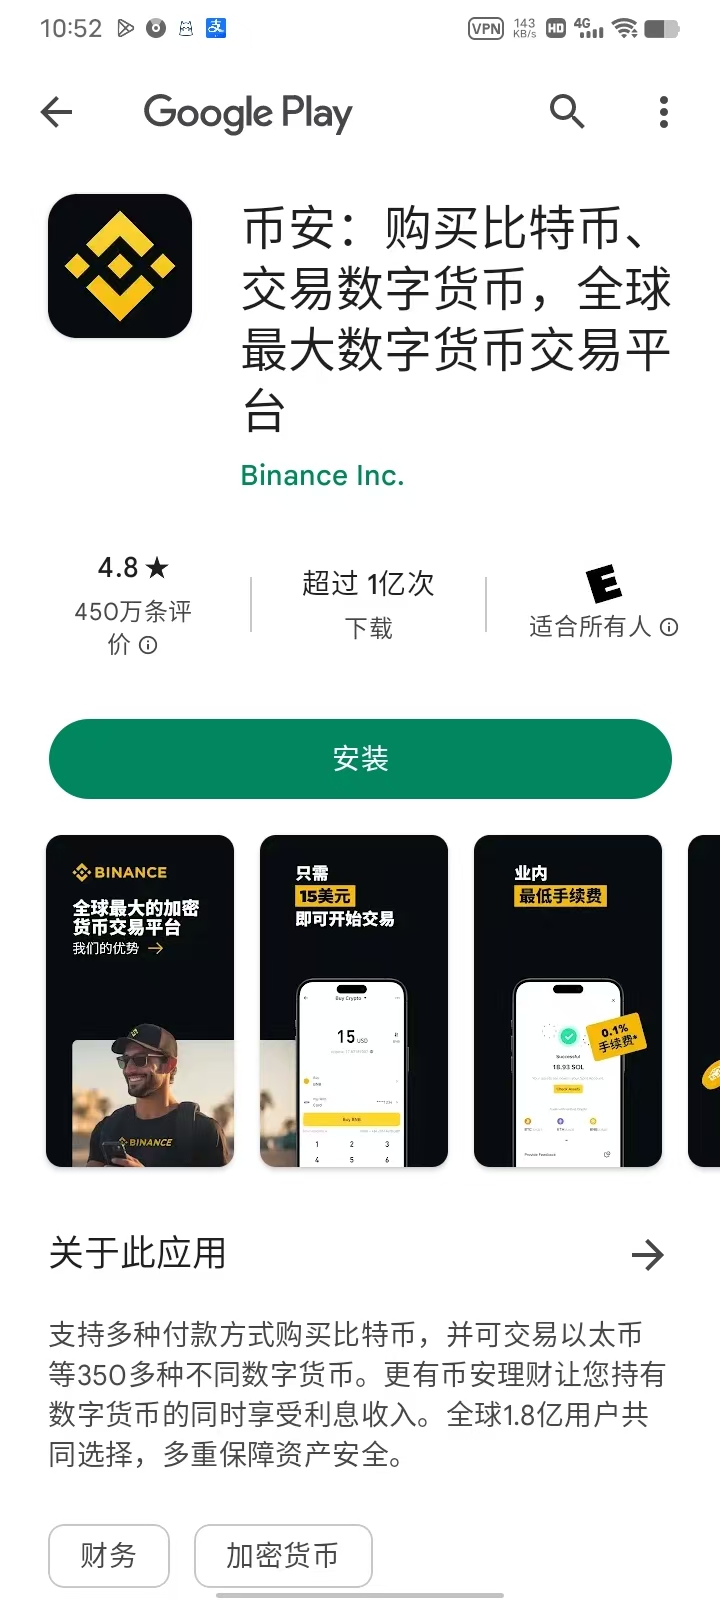
Open it once installed and wait through the loading screen.
Step 2: register
The welcome screen takes an email address or a phone number, or a Google or Telegram account.
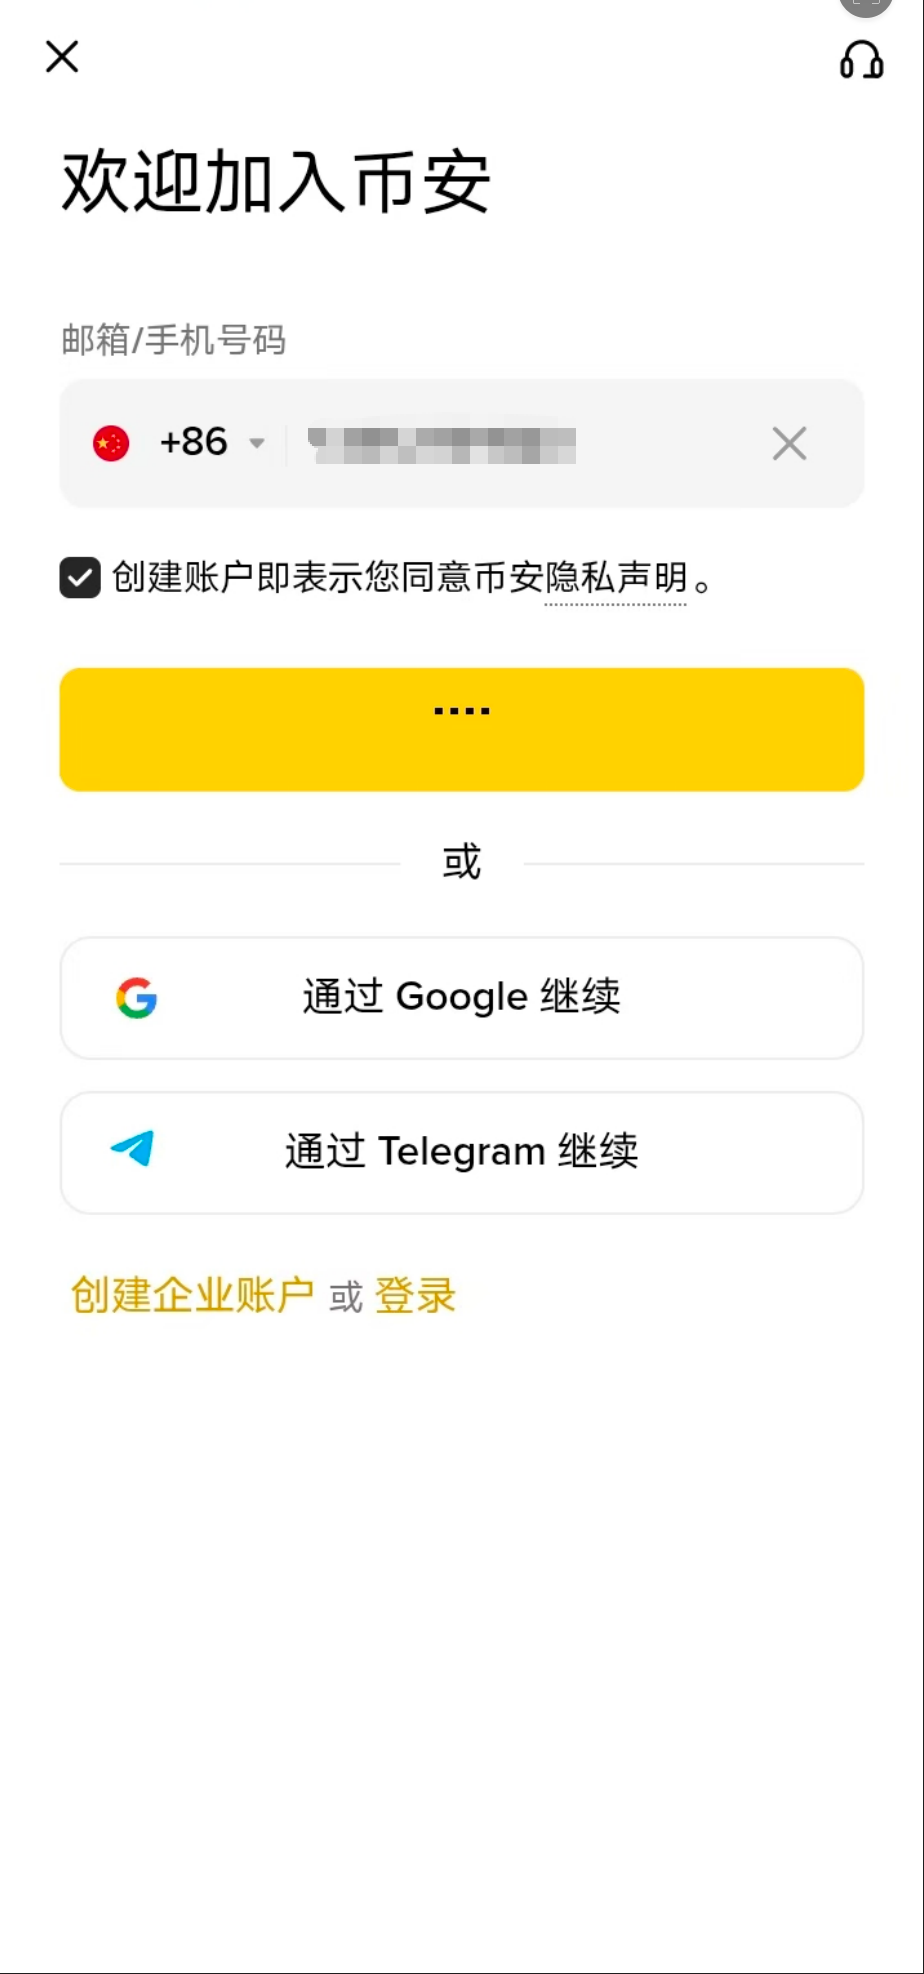
Tick the privacy notice, press the yellow button, enter the code you are sent, and the account exists.
Step 3: identity verification
You land on the home screen with "verification under review" across the top. Until it passes you can neither trade nor deposit.
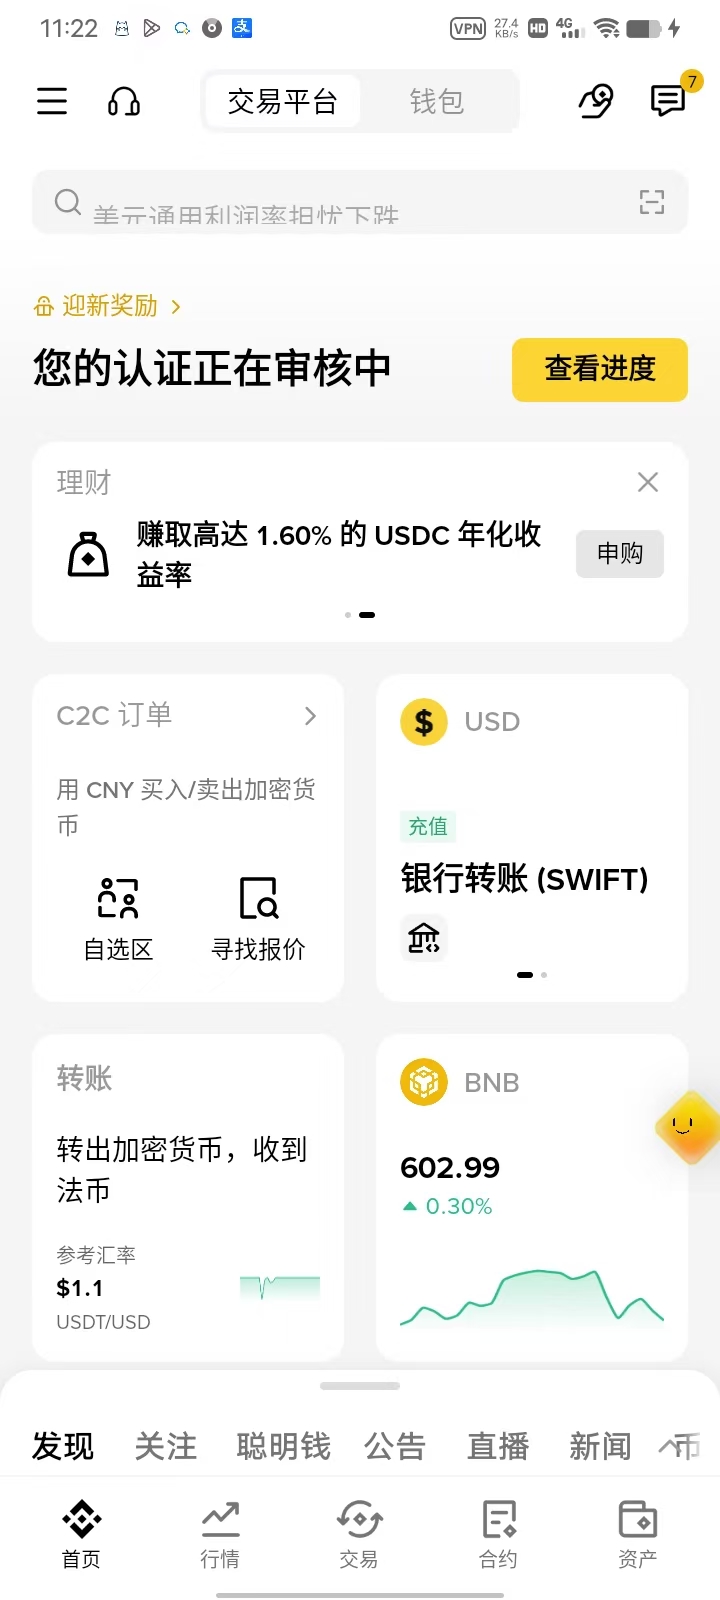
Upload an ID document and do the face check as prompted. Standard verification is worth 50K USD of fiat a day, far more than anything here needs.
Step 4: buy USDT through C2C
C2C means swapping with another person: you send them local currency by bank transfer or a payment app, they release USDT to you, and the exchange holds both sides while that happens. It is the usual way in for anyone in mainland China.
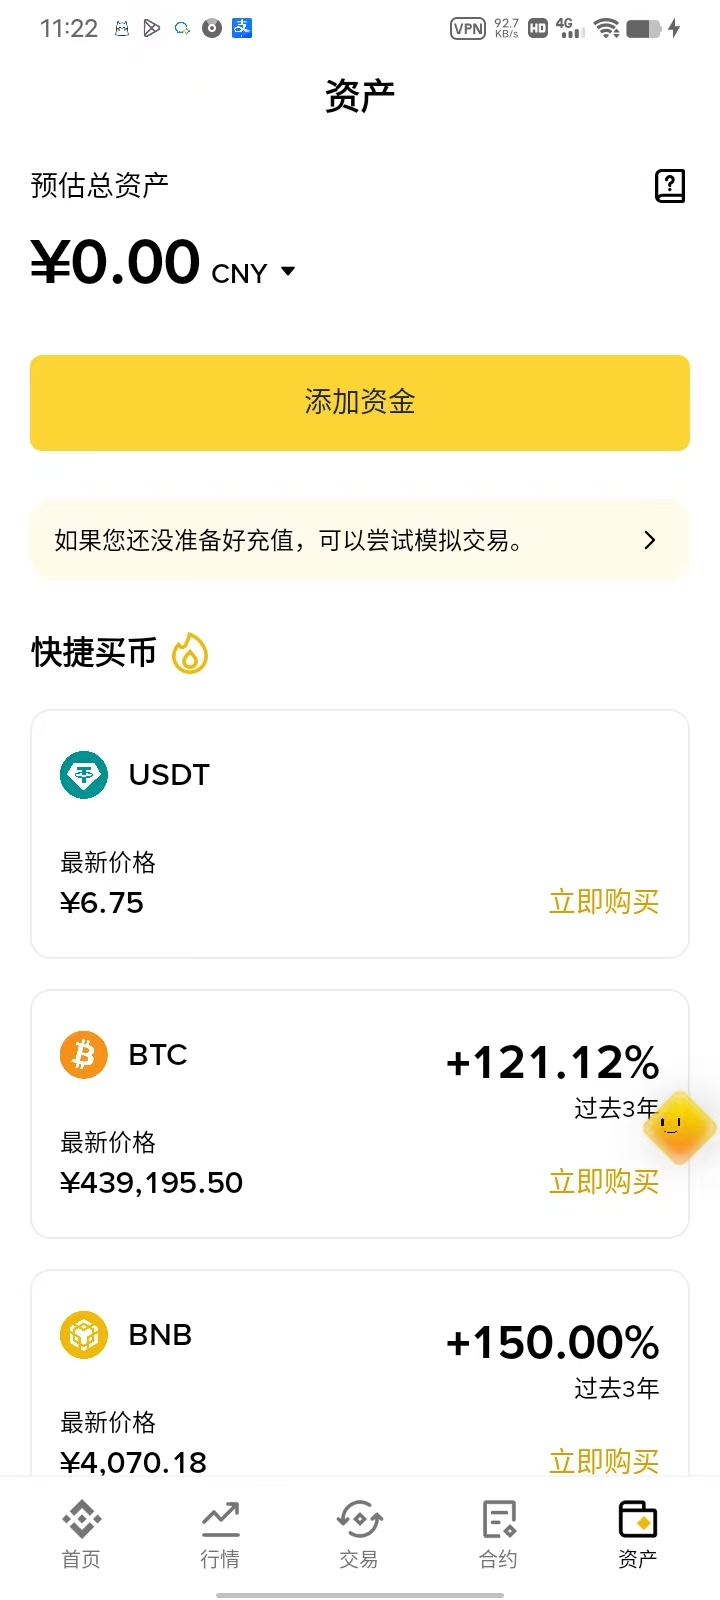
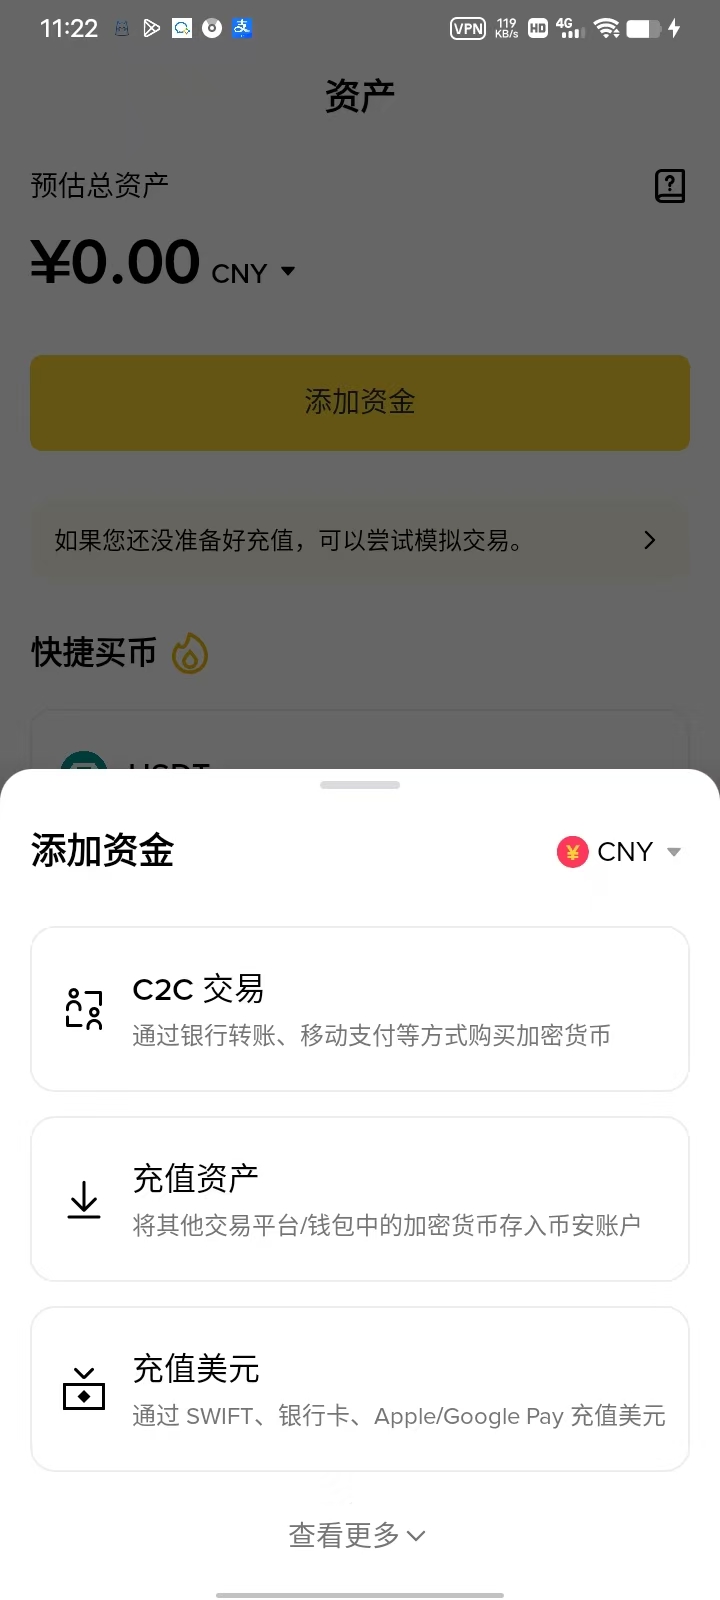
- Open Assets, then Add Funds
Assets, at the right end of the bottom bar. A new account reads ¥0.00.
- Pick C2C trading
First item in the menu — "buy crypto by bank transfer, mobile payment and so on".
- Enter an amount, choose how to pay
USDT is the default. Enter what you want to spend and the app works out what you receive at the current unit price.
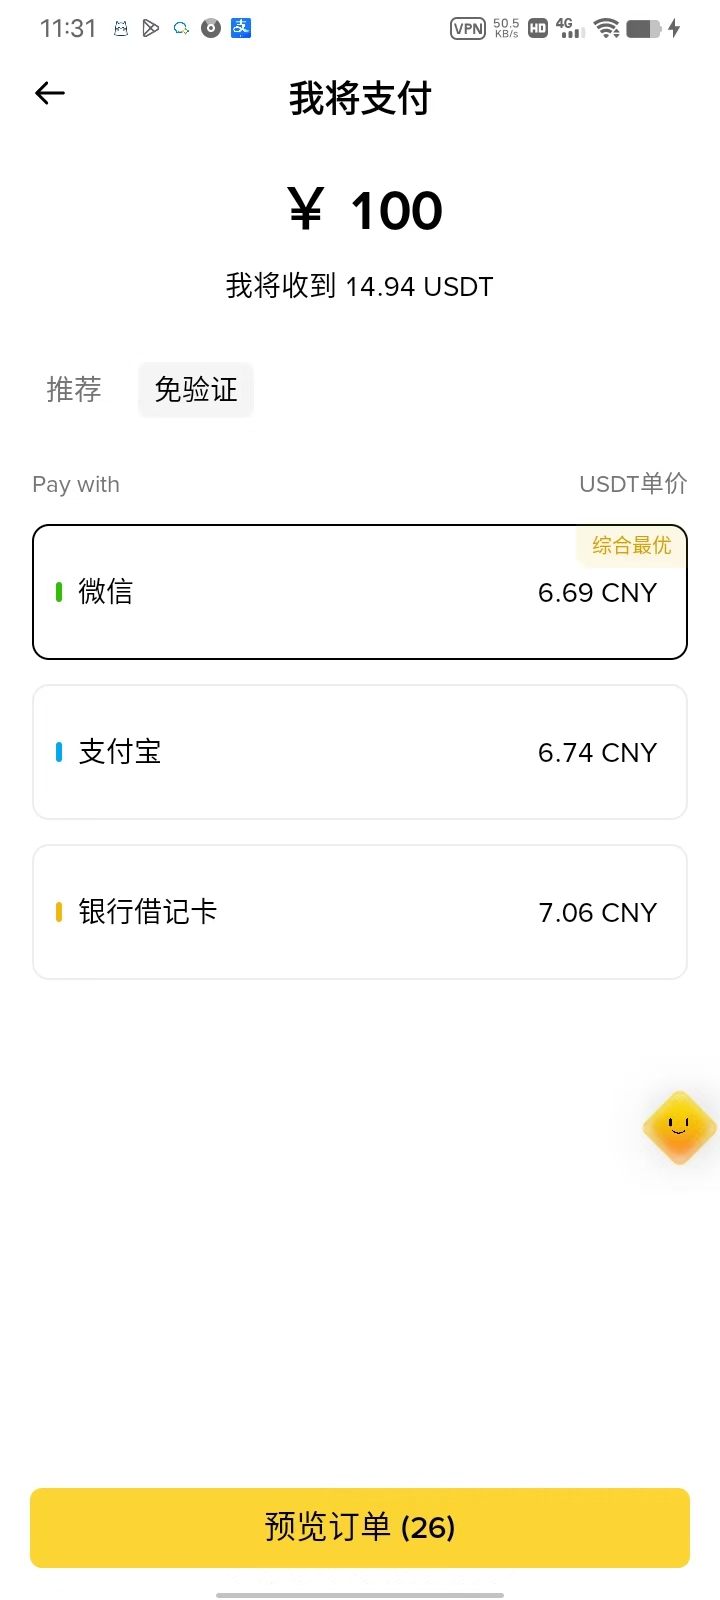
Each payment method carries its own price, a few cents apart — in the screenshot WeChat is 6.69, Alipay 6.74, a bank card 7.06 per USDT.
- Confirm the order
A confirmation sheet comes up with the counterparty (nickname, volume, completion rate) and the order: the withdrawal-protection window, the USDT you will receive, the amount you will pay.
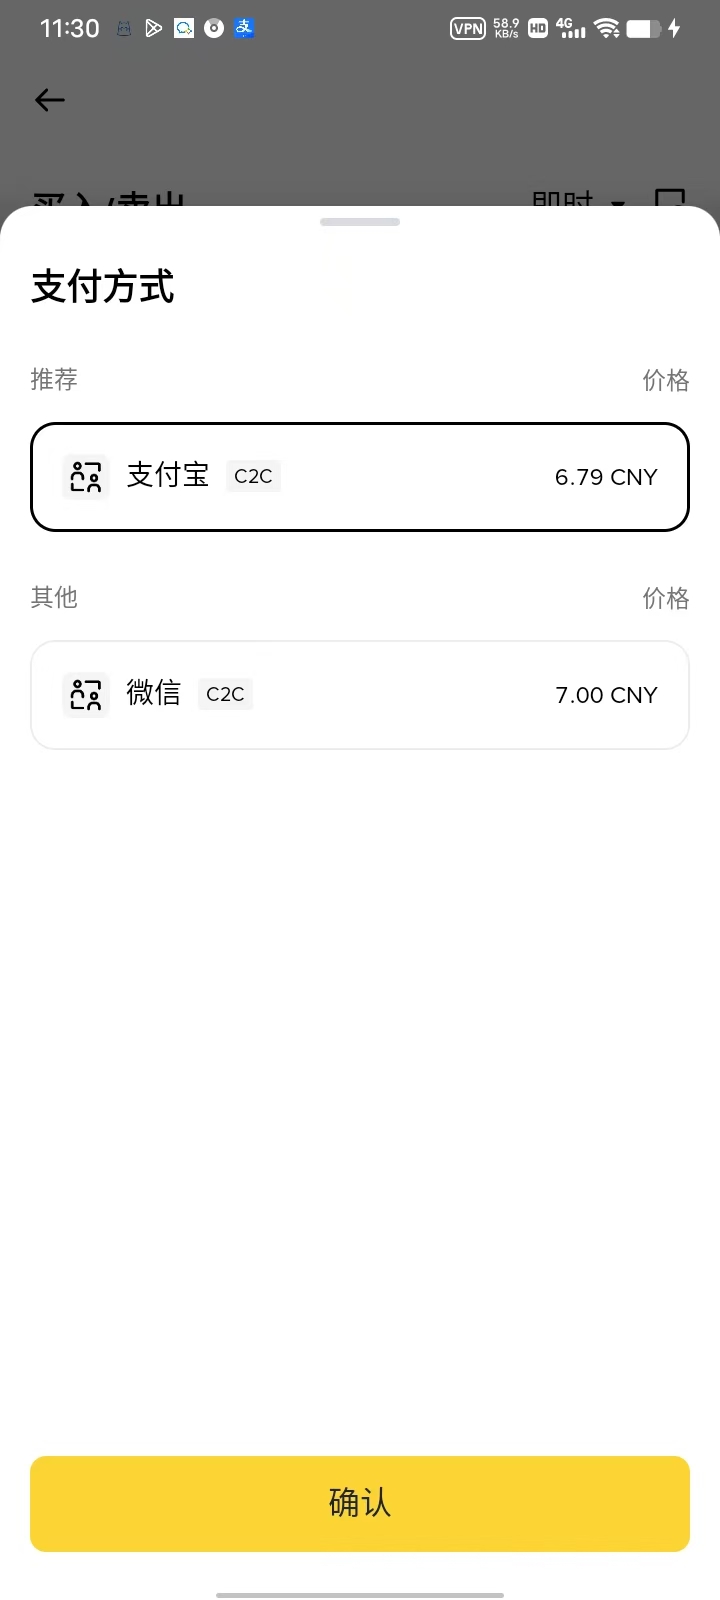
The number in brackets on the button is a countdown. Pressing it places the order.
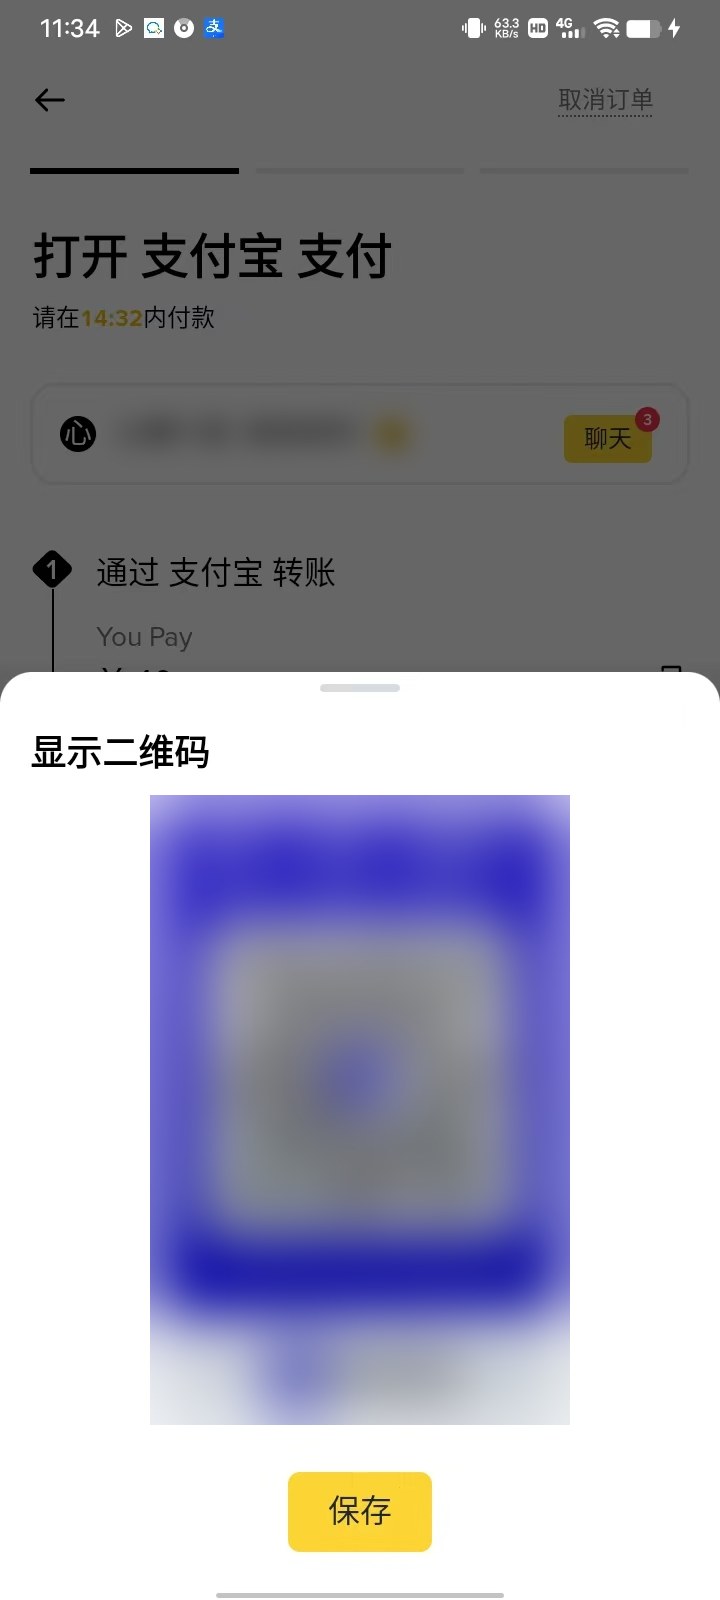
- Pay using the details on the page
The payment screen gives you the payee's name, account and amount, and can show a payment QR code.
 Keep the transfer note clean
Do not write BTC, USDT or crypto in the note. Put the order number, or leave it empty.
And: pay only the account the page shows you. Anyone messaging you a different account, or suggesting you settle privately off-platform, is running a scam.
- Upload proof, tell the seller
Back in Binance, press upload payment proof, attach the screenshot of your transfer, then confirm that you have paid.
- Wait for the seller to release
The order moves to "awaiting payment confirmation" with an estimated time.
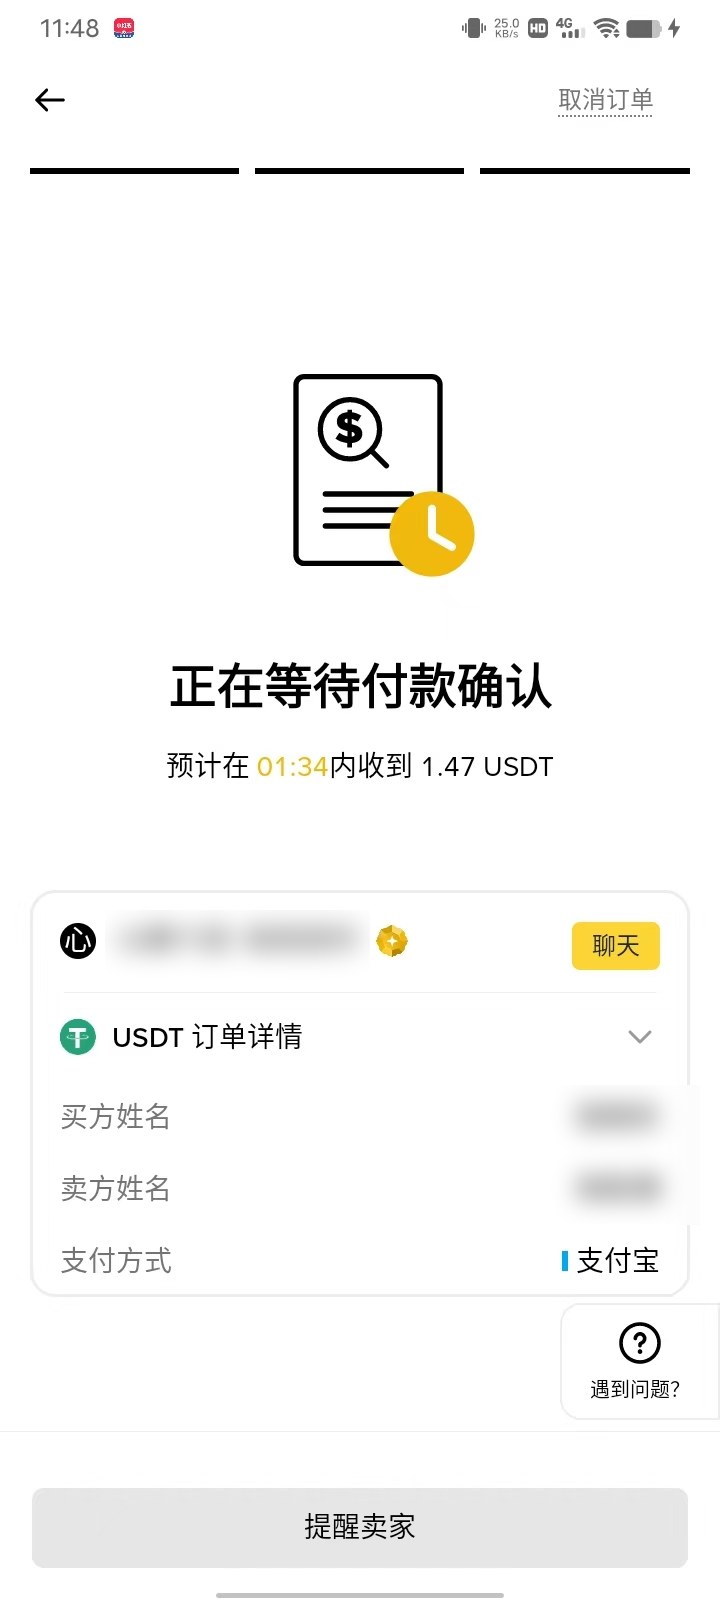
Wait it out. Do not pay twice and do not cancel. If it overruns, use the chat button to reach the seller, or open a dispute from the help entry.
- It arrives
Once the seller confirms, the USDT lands in your funding account.
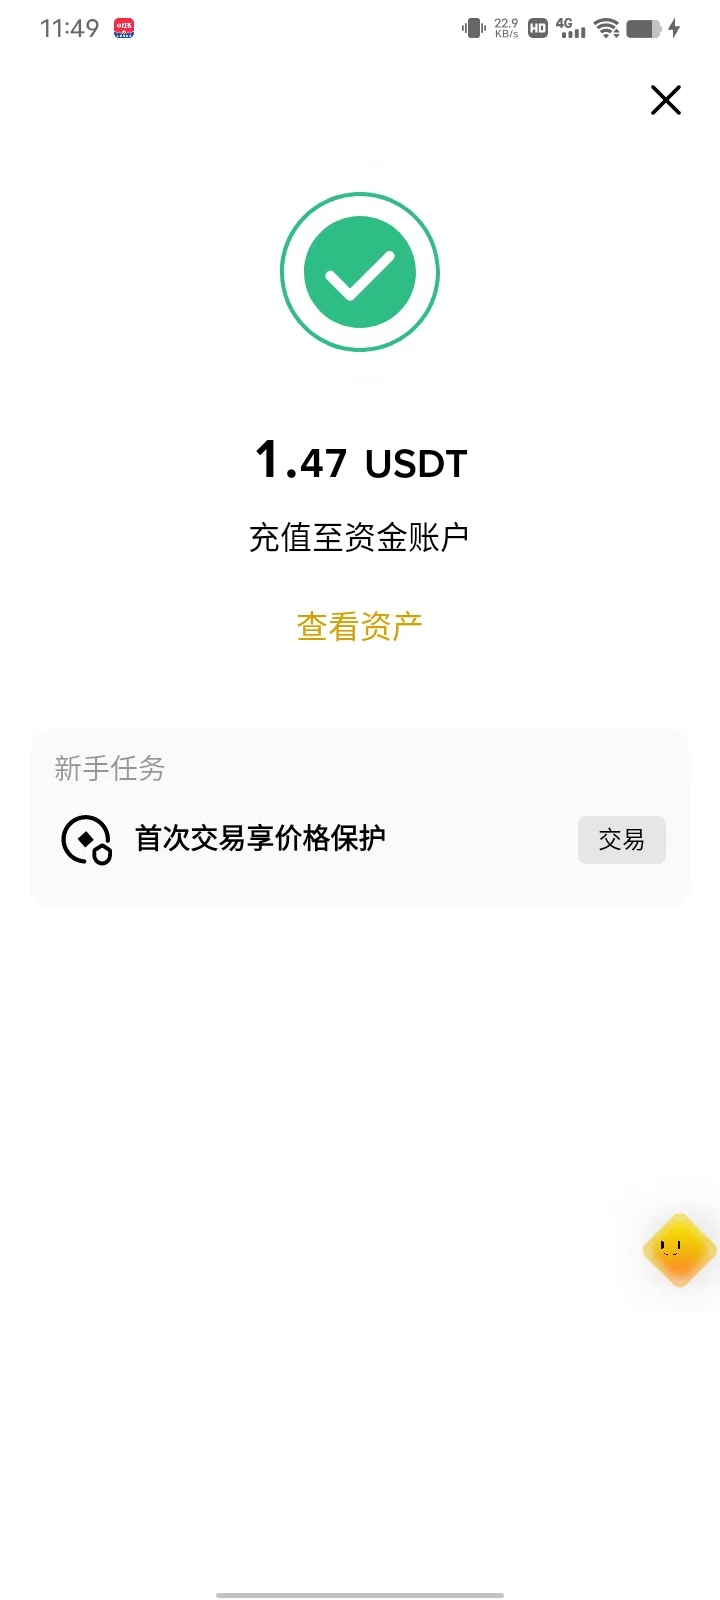
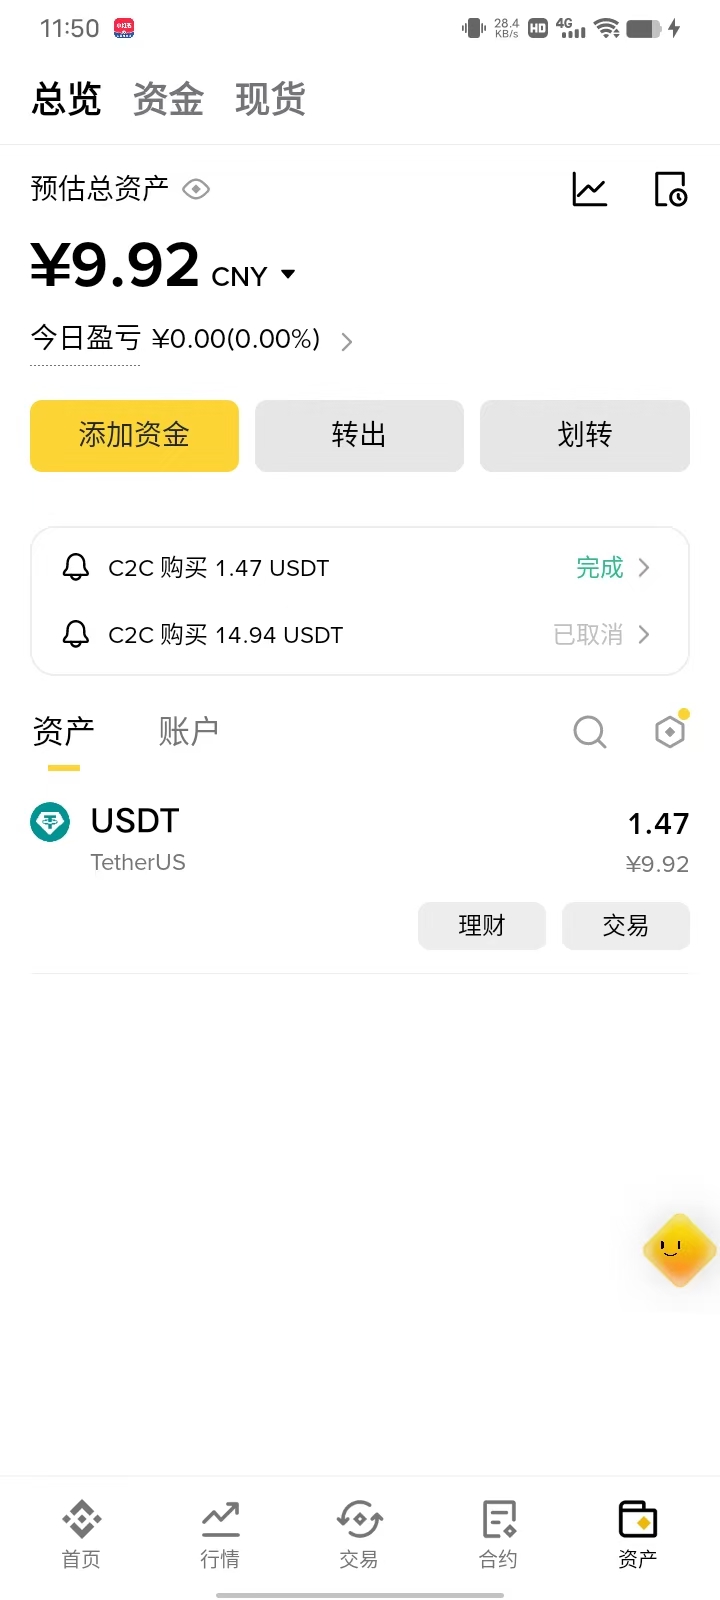
Back on the assets page the total updates, and the USDT balance is under the Funding tab.
Step 5: withdraw it to Asale
USDT sitting on an exchange is not yet money you can spend here.
- Get the address from Asale
Asale client → Wallet → Deposit, and pick a chain: Solana or TRON. You get an address on that chain and a QR code for it.
- Withdraw from Binance
USDT → Withdraw → the network must be the chain you just picked in Asale (TRON is TRC20, Solana is SOL), paste the address, enter an amount. The page shows the fee and the minimum.
- Watch it confirm
Asale's deposit page follows the transfer: detected → confirming → credited. You can close the page; the address stays valid.
On-chain transfers cannot be reversed. A TRON address used on Solana is money gone. Check the address and the network once more before you submit.
Worth remembering
- Nobody legitimate offers to trade for you, and nobody legitimate wants to swap privately. Off-platform, nothing is held in escrow — money you send is simply theirs.
- Bank cards get frozen. If a C2C counterparty has handled dirty money, your card can be caught up in it. Use a card you do not rely on, and start small.
- Only
binance.com. A lookalike site's installer can carry a trojan. - Check your own jurisdiction before you start, not after.
Once it is installed
- The proxy is actually working (system-level on desktop, configured separately on the phone)
- The download page really was
binance.com - macOS: the architecture in the dmg's title bar matches your chip
- macOS: dragged into Applications, and the dmg ejected
- macOS: allowed once under Privacy & Security
- The version under Settings → About matches the one on the download page
- The chain you withdraw on is the chain Asale's deposit page is showing