
Buying with opencode
From zero: install opencode, add funds, flip the buy switch — and why, like Codex, not picking a model is the same as not installing it.
opencode is an open-source terminal AI coding assistant. You need no vendor subscription at all: once the buy switch is on, its requests go through the Asale market and you pay in USDT for the tokens you actually use.
This guide has two traps that belong to opencode alone, both flagged in the text: you must pick models first (step 5), and where its config directory is (step 3).
Time needed: about 15 minutes | Config file: ~/.config/opencode/opencode.jsonc
Your tool hands the question to Asale on your computer, Asale passes it to the market, and the market assigns it to some seller's computer, which asks the vendor. The machine talking to the vendor is the seller's, not yours — all you need is to reach Asale's own servers.
Step 1: Install the Asale client and sign in
Not installed yet? Work through Install the client: download → install → register and sign in on the Account page.
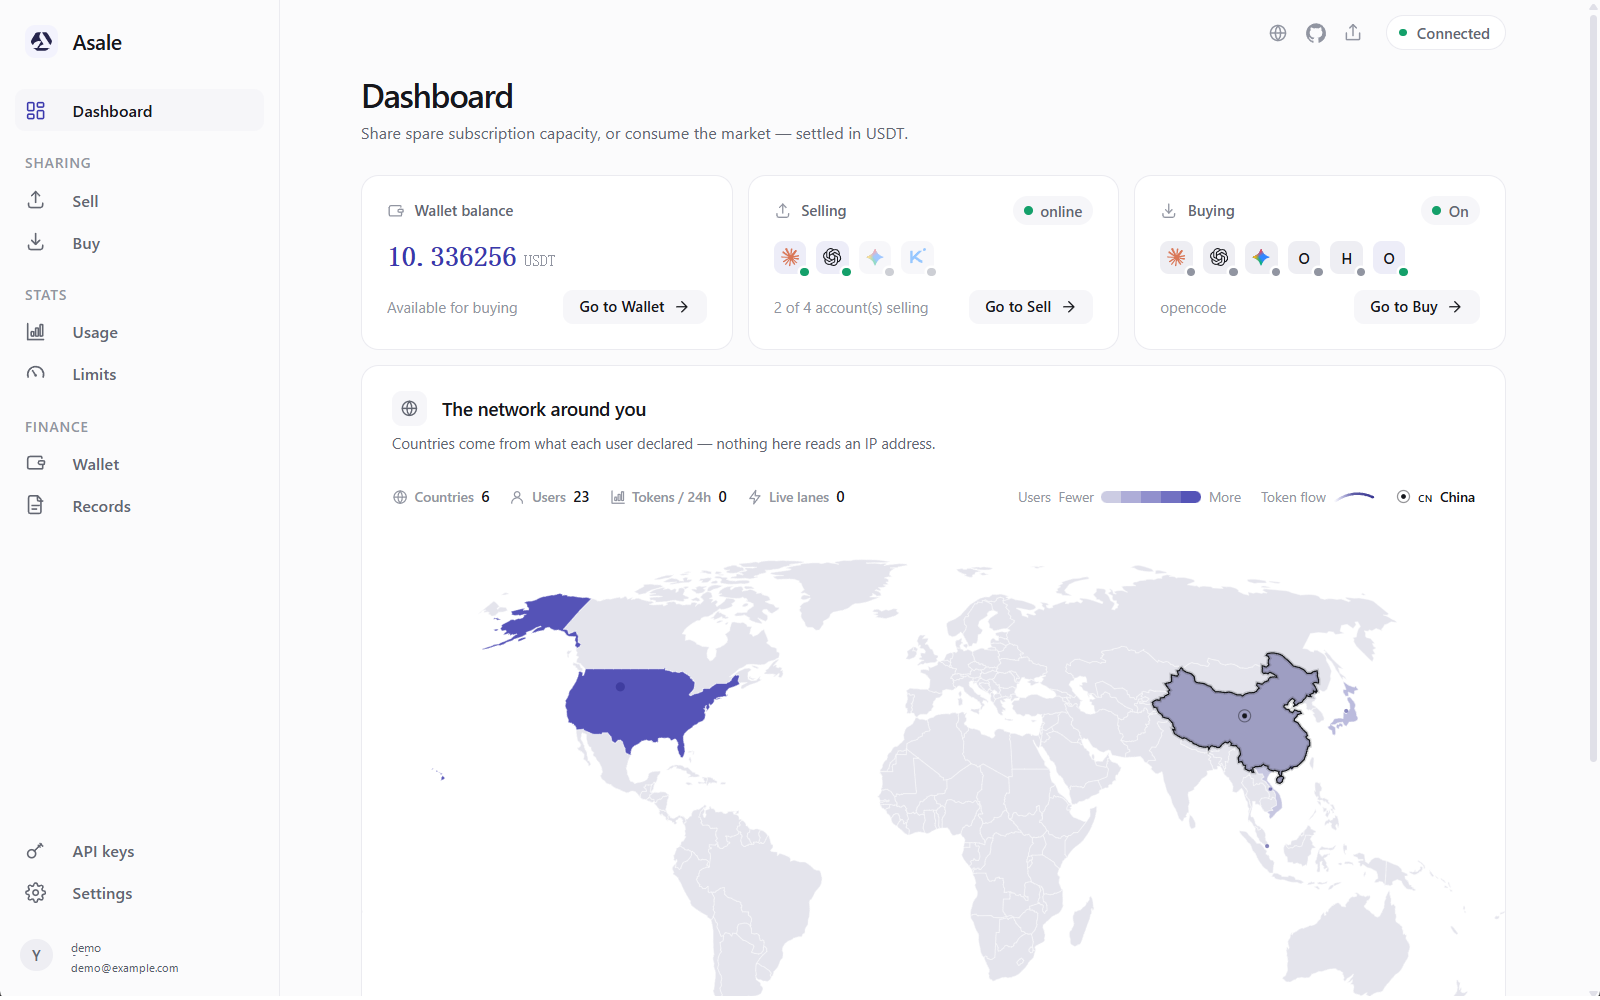
Step 2: Put some USDT in the wallet
- Wallet → Deposit → pick a chain
Wallet on the left → Deposit → pick Solana or TRON.
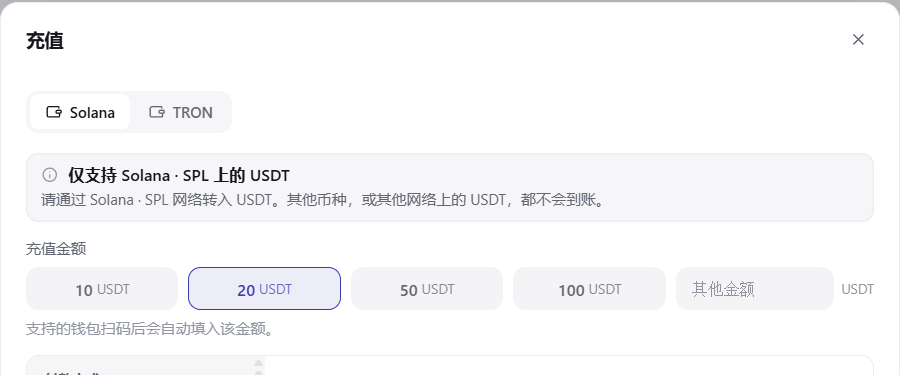
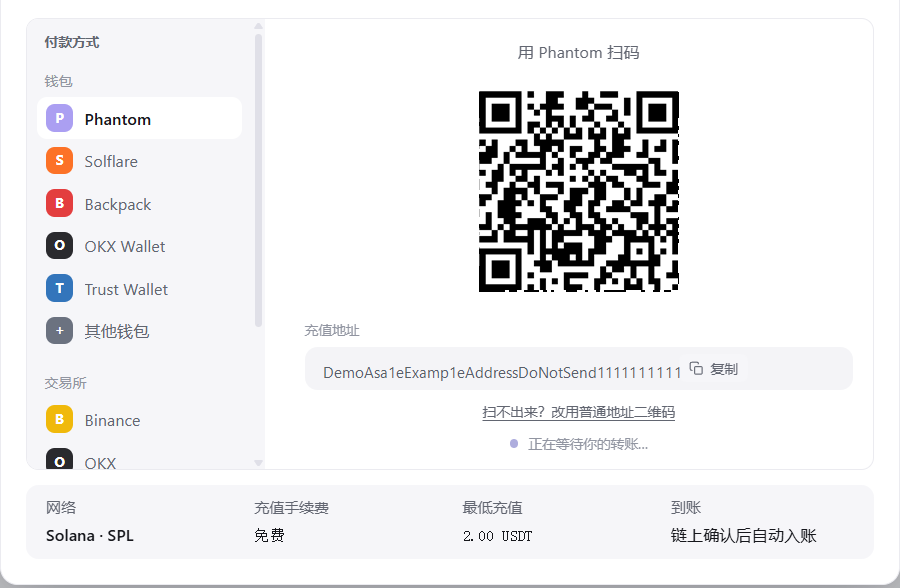
- Scan the QR code or copy the address and send
From a phone wallet, scan the QR code; from an exchange, open the USDT withdrawal page, set the network to the one you just picked, paste the address and confirm.
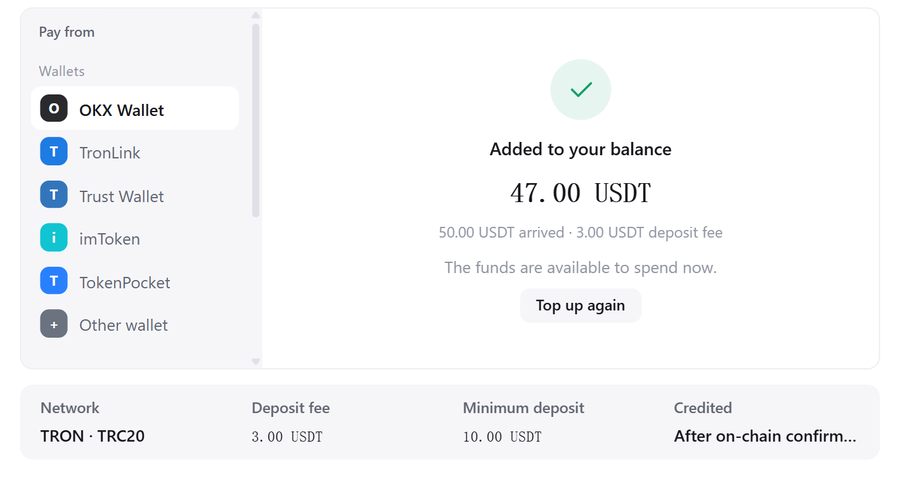
- Wait for it to arrive
Detected → confirming → added to your balance. For a first go, 5–10 USDT is plenty.
 Pick the wrong chain and the money cannot be recovered
An address is bound to a chain. USDT from another network, or another coin entirely, will not arrive. Go by the network name written above the QR code on the deposit page.
Step 3: Install opencode on your computer
If you already have it, skip to step 4.
- Install Node.js first
Open nodejs.org and click the green LTS button to download and install. Afterwards open a new terminal window and type
node -v; you should see a version number.
- Install opencode
Follow the instructions on opencode.ai; the most common route is a global npm install:
npm install -g opencode-ai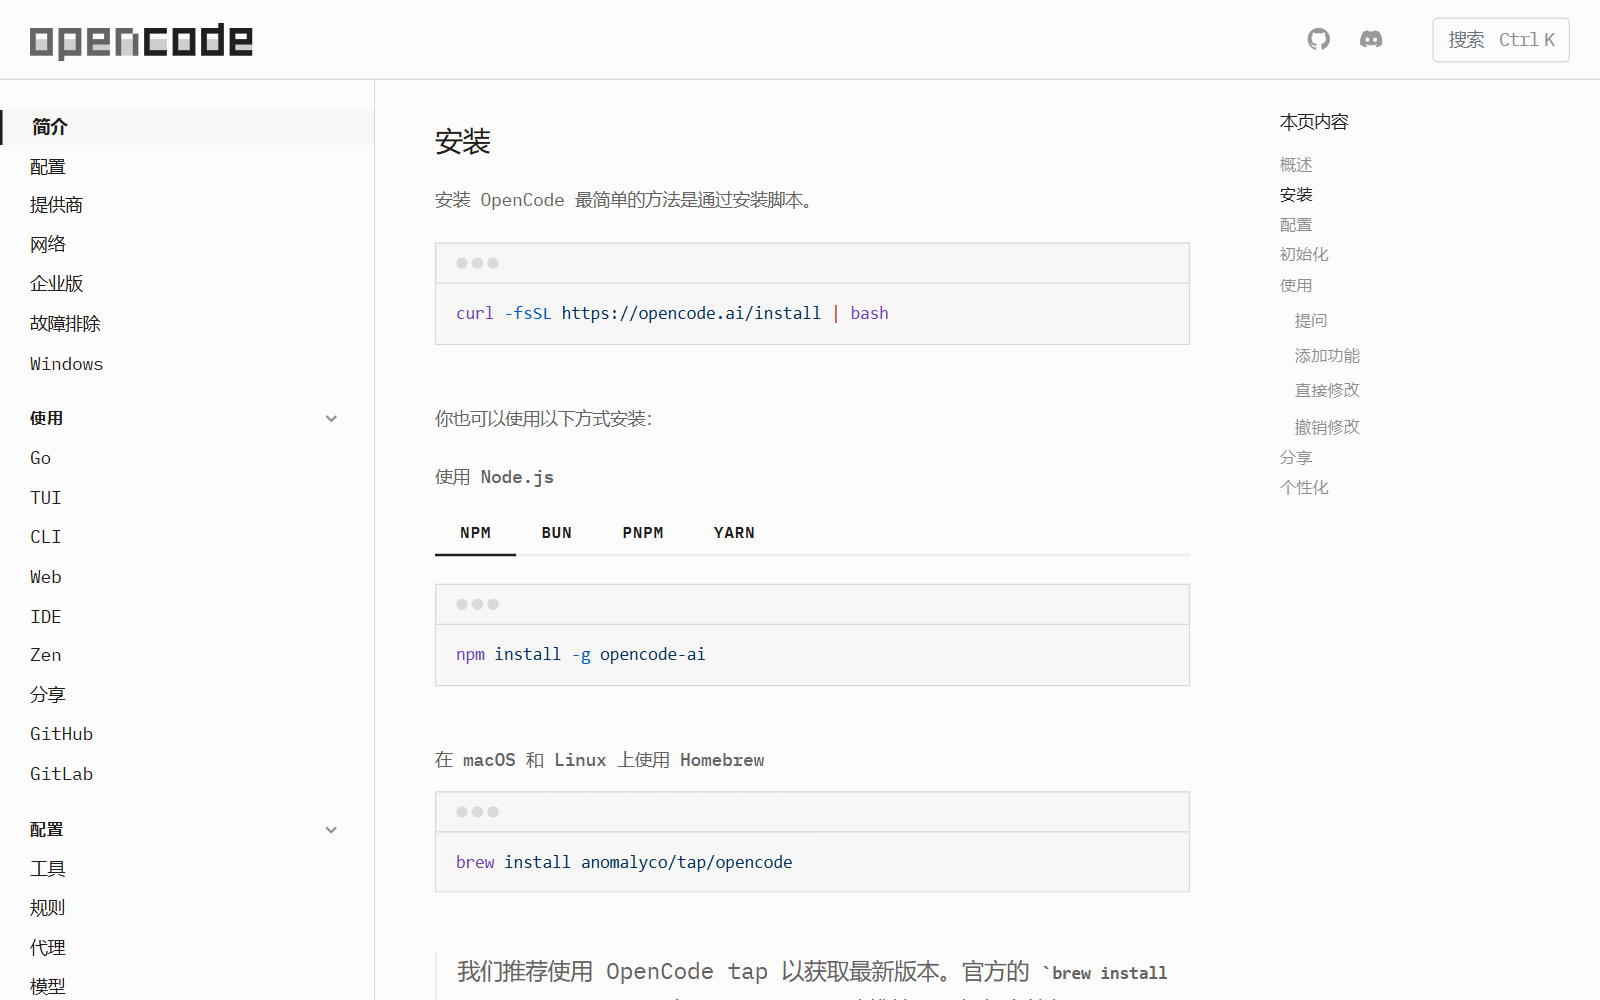
- Check that it installed
opencode --version - Run it once first
Start opencode once and quit. It generates its own config file, which is how Asale knows where to write.
Where opencode's config lives — Windows users, take noteIts config goes in one place, the same on Windows, macOS and Linux:
~/.config/opencode/opencode.jsoncOn Windows that is
C:\Users\your-username\.config\opencode\, not%APPDATA%\opencode— the per-platform table you will find in a lot of write-ups is wrong here.It also accepts both file names,
opencode.jsoncandopencode.json, and.jsoncwins when both exist. opencode writes anopencode.jsoncitself on first launch, so as long as you have run it once, that is the file in effect. Asale edits the one already in effect rather than creating a new file that shadows the other.If you are not sure, ask it directly in a terminal:
opencode debug paths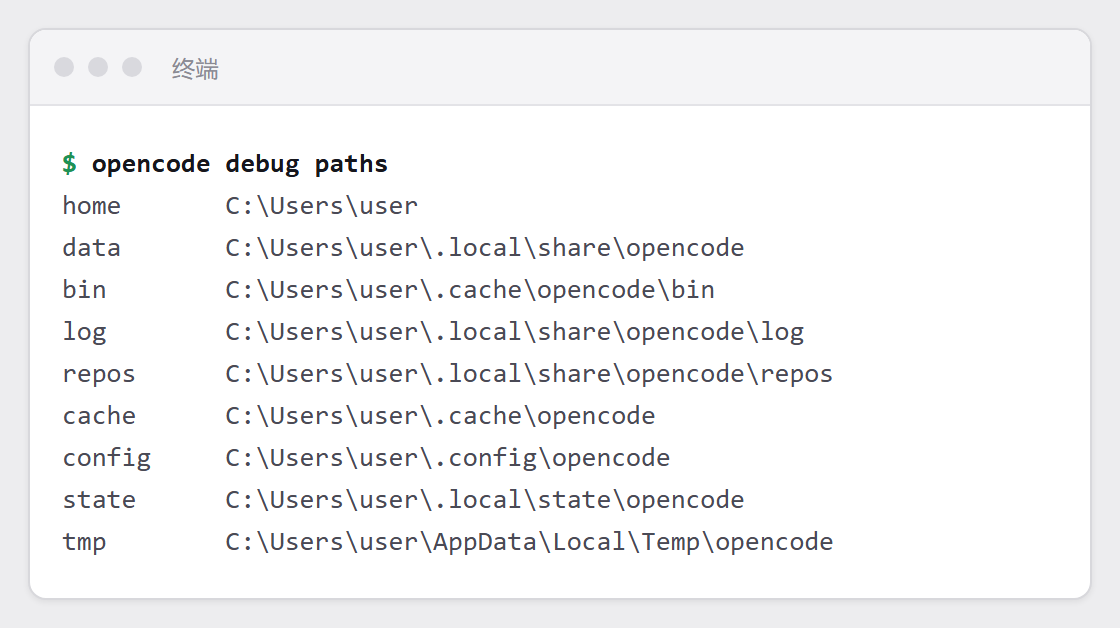
If you have changed opencode's config location yourself (by setting the
XDG_CONFIG_HOMEenvironment variable), your setting wins and both opencode and Asale follow it.
Step 4: Turn on opencode's buy switch
Turning the switch on rewrites its config file. Open a fresh window before you do it.
Buy on the left → find opencode → turn on Buy tokens for this tool.
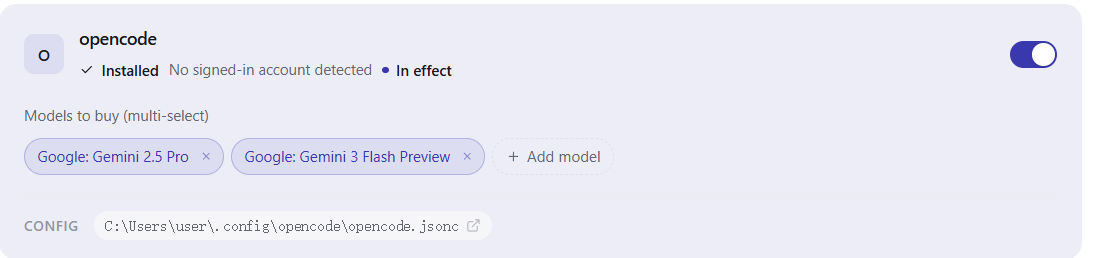
If it still says "Not detected": check you did that final launch in step 3 (so the config file exists), then click Refresh.
Step 5: Pick models (mandatory for opencode — do not skip)
opencode only offers the models written in its config. Pick nothing and Asale writes a provider called Asale into its config with not a single model under it — you open opencode, the model list is empty, and the whole thing was for nothing.
Once picked, those models are written into opencode.jsonc and appear under the Asale group in opencode's model picker. opencode defaults to the first one in the list, so put the one you use most at the front.
Expand Models to buy (multi-select) and tick the ones you are willing to spend on; each shows its current market price (in / out, per million tokens).
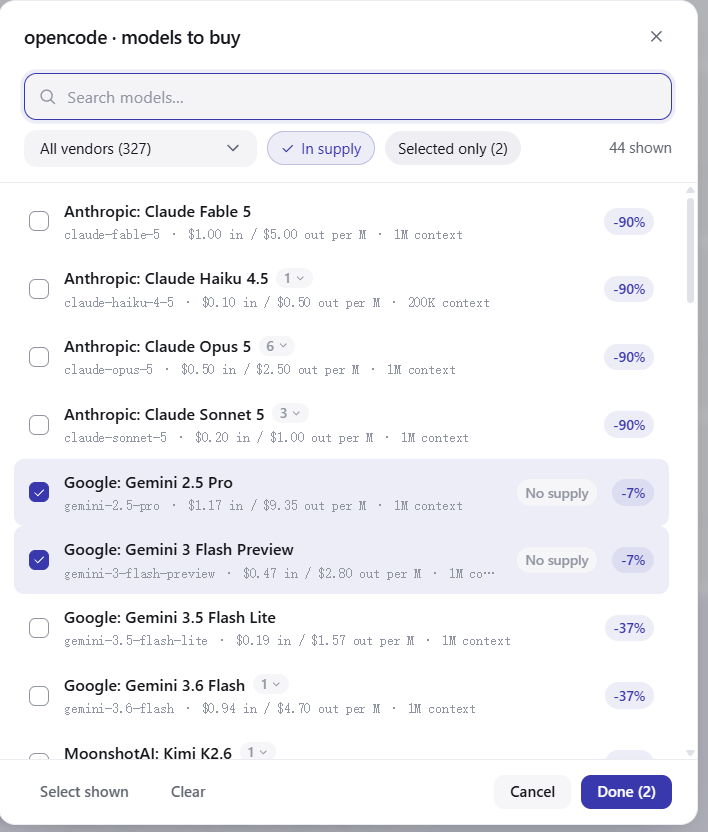
Models showing No supply mean nobody on the market has capacity for them right now; ticking them will not help.
Step 6: Restart opencode
The config is read once, at startup. Quit opencode completely and open it again.

Step 7: Confirm it really went through the market
Start opencode, choose a model from under the Asale group in the model picker, and ask anything.
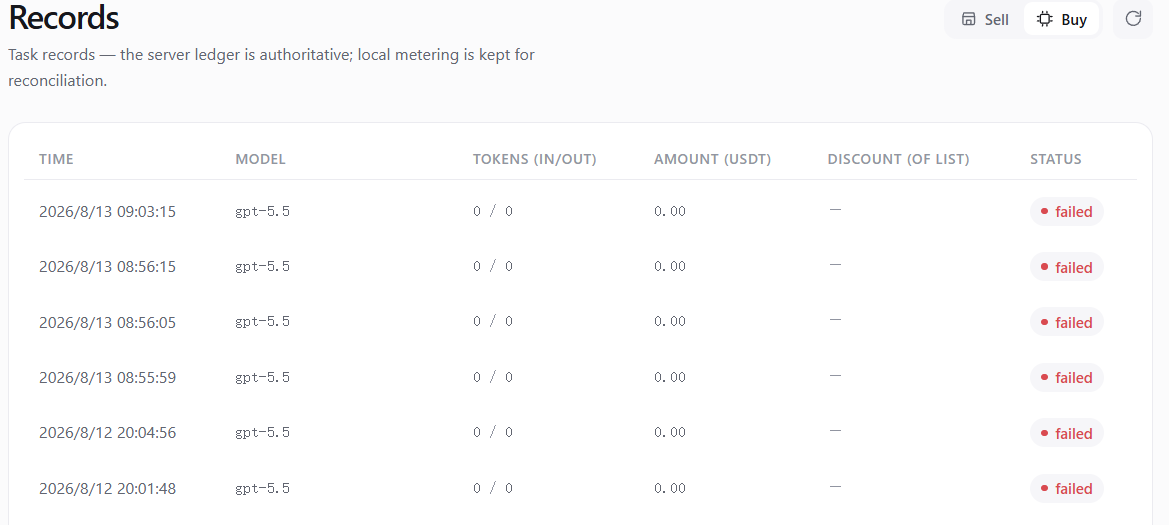
Then go back to Asale → Records → Buy tab; that request should be there: time, model, token count, and how much USDT it cost.
What actually changed on disk
| File |
|---|
~/.config/opencode/opencode.jsonc (or an existing opencode.json) |
Asale adds a provider called Asale inside it: the address points at the local proxy, it carries your key, and the models you ticked hang underneath. Everything else you wrote in that file is left untouched. Backed up before the first write and restored exactly when you turn the switch off.
The Buy page has an Open config button if you want to look.
Its address has an extra /opencode in it
opencode's requests can look exactly like Codex's, and the content alone does not reveal who sent them.
So Asale adds an /opencode segment to its address and identifies it by that. You will not normally notice — Asale writes it for you — but do not remove it by hand: without it, opencode's requests are treated as Codex's, using Codex's switch and Codex's chosen models.
What one request costs
Before each question, the system holds an amount from your balance based on the most this could possibly cost — usually quite a bit more than it actually will. When the answer finishes, it settles at real usage and the excess returns immediately. A request that errors, produces no usage, or that you interrupt with Ctrl+C is not charged.
Turning it off again
Turn opencode's switch off on the Buy page, then restart opencode. The config is restored exactly and the Asale provider is removed.
Common questions
There are no models at all in opencode? Step 5 was skipped, or it was done without restarting. Go back to the Buy page, tick some models, then quit opencode completely and reopen it.
The switch is on but the Records page is empty?
Two possibilities. One, the config was written to a file opencode does not read (run opencode debug paths and compare). Two, the model you selected in the picker is not under the Asale group — pick a different provider and of course the request does not go through Asale.
I signed into Claude through opencode — can I sell that account? Yes. On startup Asale reads the sign-ins opencode has saved and imports any Claude subscription among them onto the Sell page. If you signed into the same account in Claude Code as well, Asale recognises it as one account and merges the rows rather than double-counting. See Selling a Claude subscription.
Does turning on opencode's switch affect Claude Code or Codex? No. Each tool's buy switch and model list are entirely independent.
"503 no supply"? Nobody currently has idle capacity for that model. Switch models or wait.
"402 insufficient balance" when I have money? The hold is based on the most it could possibly cost, usually quite a bit above the real figure, so a small balance gets stuck here easily. Deposit a bit more.